지금까지의 포스팅에서는 Bootstrap 을 이용해서 화면을 만드는 법과,
Spring Security 를 이용해서 로그인을 구현해보았습니다.
이번 포스팅에서는 게시판을 구현해보려 합니다.
게시판도 동일하게 Bootstrap 을 이용해서 UI 를 그리고,
JPA 를 이용해서 페이징 처리를 하려 합니다.

HTML
|
1
2
3
4
5
6
7
8
9
10
11
12
13
14
15
16
17
18
19
20
21
22
23
24
25
26
27
28
29
30
31
32
33
34
35
36
37
38
39
40
41
42
43
44
45
46
47
48
49
50
51
52
53
54
55
56
57
58
59
60
61
62
63
64
65
66
67
68
69
70
71
72
73
74
75
76
77
78
79
80
81
82
83
84
85
86
87
88
89
90
91
92
93
94
95
96
97
98
99
100
101
102
103
104
105
106
107
108
109
110
111
112
113
114
115
116
117
118
119
120
121
122
123
124
125
126
127
128
129
|
<!DOCTYPE html>
<html xmlns:th="http://www.thymeleaf.org" xmlns:sec="http://www.thymeleaf.org/extras/spring-security">
<head>
<title>게시판</title>
<meta charset="utf-8">
<meta name="viewport" content="width=device-width, initial-scale=1">
<link rel="stylesheet" href="https://maxcdn.bootstrapcdn.com/bootstrap/4.5.2/css/bootstrap.min.css">
<script src="https://ajax.googleapis.com/ajax/libs/jquery/3.5.1/jquery.min.js"></script>
<script src="https://cdnjs.cloudflare.com/ajax/libs/popper.js/1.16.0/umd/popper.min.js"></script>
<script src="https://maxcdn.bootstrapcdn.com/bootstrap/4.5.2/js/bootstrap.min.js"></script>
<link rel="stylesheet" type="text/css" href="https://cdn.datatables.net/1.10.22/css/jquery.dataTables.css">
<link rel="canonical" href="https://getbootstrap.com/docs/5.1/examples/headers/">
<script type="text/javascript" charset="utf8" src="https://cdn.datatables.net/1.10.22/js/jquery.dataTables.js"></script>
<!-- Bootstrap core CSS -->
<link href="static/css/bootstrap.min.css" rel="stylesheet">
<link href="css/headers.css" rel="stylesheet">
<link rel="stylesheet" href="https://stackpath.bootstrapcdn.com/bootstrap/3.4.1/css/bootstrap-theme.min.css">
<link rel="stylesheet" href="https://stackpath.bootstrapcdn.com/bootstrap/3.4.1/css/bootstrap.min.css">
<link href="css/bootstrap.css" rel="stylesheet">
<style>
.bd-placeholder-img {
font-size: 1.125rem;
text-anchor: middle;
-webkit-user-select: none;
-moz-user-select: none;
user-select: none;
}
@media (min-width: 768px) {
.bd-placeholder-img-lg {
font-size: 3.5rem;
}
}
</style>
<!-- Custom styles for this template -->
<link href="static/css/headers.css" rel="stylesheet">
<script src="js/bootstrap.bundle.min.js"></script>
<script src="js/bootstrap.bundle.js"></script>
<script src="js/bootstrap.js"></script>
</head>
<body>
<main>
<header class="p-3 bg-dark text-white">
<div class="container">
<div class="d-flex flex-wrap align-items-center justify-content-center justify-content-lg-start">
<a href="/" class="d-flex align-items-center mb-2 mb-lg-0 text-white text-decoration-none">
<svg class="bi me-2" width="40" height="32" role="img" aria-label="Bootstrap"><use xlink:href="#bootstrap"/></svg>
</a>
<ul class="nav col-12 col-lg-auto me-lg-auto mb-2 justify-content-center mb-md-0">
<li><a href="#" class="nav-link px-2 text-secondary">Home</a></li>
<li><a href="#" class="nav-link px-2 text-white">Board</a></li>
<li><a href="#" class="nav-link px-2 text-white">Pricing</a></li>
<li><a href="#" class="nav-link px-2 text-white">FAQs</a></li>
<li><a href="#" class="nav-link px-2 text-white">About</a></li>
</ul>
<form class="col-12 col-lg-auto mb-3 mb-lg-0 me-lg-3">
<input type="search" class="form-control form-control-dark" placeholder="Search..." aria-label="Search">
</form>
<div class="text-end">
<button type="button" class="btn btn-outline-light me-2" onclick="moveLogin();">Login</button>
<button type="button" class="btn btn-warning" onclick="moveJoin();">Sign-up</button>
</div>
</div>
</div>
</header>
</main>
<div class="container">
<table class="table table-hover">
<h3>게시판</h3>
<form class="form-inline d-flex justify-content-end" method="GET", th:action="@{/board/boardList}" th:value="${param.searchText}">
<div class="form-group mx-sm-3 mb-2 pull-right">
<label for="searchText" class="sr-only">검색</label>
<input type="text" class="form-control" id="searchText" name="searchText">
<button type="submit" class="btn btn-primary mb-2">검색 </button>
</div>
</form>
<thead>
<tr>
<th>번호</th>
<th>제목</th>
<th>작성자</th>
<th>날짜</th>
<th>조회수</th>
</tr>
</thead>
<tbody>
<tr th:each="board : ${boards}">
<td><a th:href="@{'/board/boardContent/' + ${board.id}}"><span th:text="${board.id}"></span></a></td>
<td th:text="${board.title}"></td>
<td th:text="${board.createdBy}"></td>
<td th:text="${board.content}"></td>
<td th:text="${board.countVisit}"></td>
</tr>
</tbody>
</table>
<hr/>
<button type="button" class="btn btn-default pull-right" onclick="location.href='/board/boardForm'">글쓰기</button>
<div class="center text-center">
<nav aria-label="Page navigation example">
<ul class="pagination justifiy-content-center" th:if="${totalPage != 0}">
<li class="page-item"><a class="page-link" th:href="@{/board/boardList(page=${boards.pageable.pageNumber - 1}, searchText=${param.searchText})}">Previous</a></li>
<li class="" th:classappend="${page == boards.pageable.pageNumber + 1} ? 'disabled'" th:each="page : ${#numbers.sequence(startPage, endPage)}">
<a th:href="@{/board/boardList(page=${page - 1}, searchText=${param.searchText})}" th:text="${page}"></a>
</li>
<li class="page-item"><a class="page-link" th:href="@{/board/boardList(page=${boards.pageable.pageNumber + 1}, searchText=${param.searchText})}">Next</a></li>
</ul>
</nav>
</div>
</div>
<div class="text-center">
<ul class="pagination">
</ul>
</div>
<script src="static/js/bootstrap.bundle.min.js"></script>
</body>
</html>
|
cs |
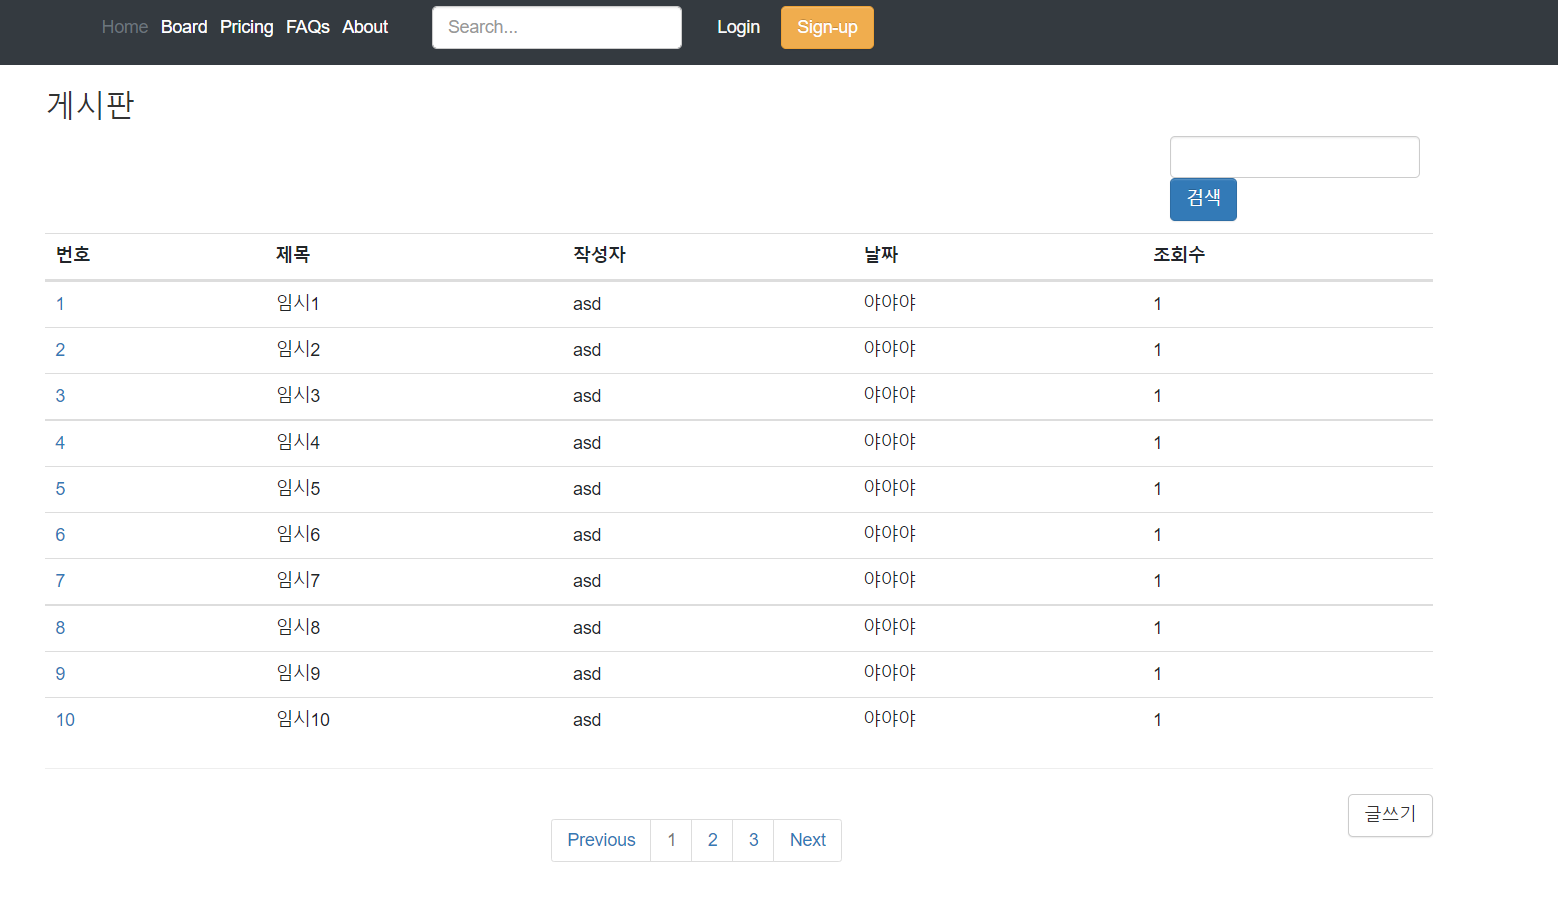
<table> 태그를 이용해서 기본적인 틀을 만들고, Thymeleaf 의 th:each 문을 이용해서
게시판의 전체 데이터를 보여줍니다.
108 ~ 118 라인은 페이징을 처리하는 부분인데 이 부분은 추후에 설명하도록 하겠습니다.
위와 같은 기본 UI 를 만들고, Controller 에서 코드를 작성해보겠습니다.
Controller
|
1
2
3
4
5
6
7
8
9
10
11
12
13
14
15
16
17
18
19
20
21
22
23
24
25
26
27
28
29
30
31
32
33
34
35
36
37
38
39
40
41
42
43
44
45
46
47
48
49
50
51
52
53
54
55
56
57
58
59
60
61
62
63
64
65
66
67
68
69
70
71
72
73
74
|
package toyproject.board.controller;
import lombok.AllArgsConstructor;
import org.springframework.data.domain.Page;
import org.springframework.data.domain.PageRequest;
import org.springframework.data.domain.Pageable;
import org.springframework.data.domain.Sort;
import org.springframework.data.web.PageableDefault;
import org.springframework.security.core.Authentication;
import org.springframework.security.core.context.SecurityContextHolder;
import org.springframework.security.core.userdetails.UserDetails;
import org.springframework.stereotype.Controller;
import org.springframework.ui.Model;
import org.springframework.web.bind.annotation.*;
import toyproject.board.domain.Board;
import toyproject.board.domain.Member;
import toyproject.board.dto.BoardDto;
import toyproject.board.repository.BoardRepository;
import toyproject.board.service.BoardService;
import java.util.List;
@Controller
@AllArgsConstructor
@RequestMapping("/board")
public class BoardController {
private final BoardService boardService;
private final BoardRepository boardRepository;
@GetMapping("/boardForm")
public String addBoard() {
return "/board/boardForm";
}
//
@PostMapping("/boardForm")
public String createBoard(@ModelAttribute BoardDto boardDto, Model model) {
Object principal = SecurityContextHolder.getContext().getAuthentication().getPrincipal();
UserDetails userDetails = (UserDetails) principal;
String username = userDetails.getUsername();
boardDto.setCreatedBy(username);
boardDto.setCountVisit(1L);
boardService.saveBoard(boardDto);
return "redirect:/";
}
@GetMapping("/boardList")
public String boardList(Model model, @PageableDefault(size = 10) Pageable pageable,
@RequestParam(required = false, defaultValue = "") String searchText) {
Page<Board> boards = boardRepository.findByTitleContainingOrContentContaining(searchText, searchText, pageable);
int startPage = Math.max(1, boards.getPageable().getPageNumber() - 1);
int endPage = Math.min(boards.getTotalPages(), boards.getPageable().getPageNumber() + 3);
model.addAttribute("boards", boards);
model.addAttribute("startPage", startPage);
model.addAttribute("endPage", endPage);
return "board/boardList";
}
@GetMapping("/boardContent/{id}")
public String boardContent(@PathVariable("id") Long id, Model model) {
Board board = boardRepository.findById(id).get();
System.out.println("board = " + board);
model.addAttribute(board);
return "/board/boardContent";
}
}
|
cs |
저는 스프링 시큐리티를 이용하였기 때문에 SecurityContextHolder 에서 현재 로그인한 정보인
Principal 을 가져오고, 이를 이용해서 사용자 이름을 가져왔습니다.
Dto 를 이용해서 작성자 이름, 조회수는 1L 로 기본 설정하여 데이터를 DB 에 저장하였습니다.
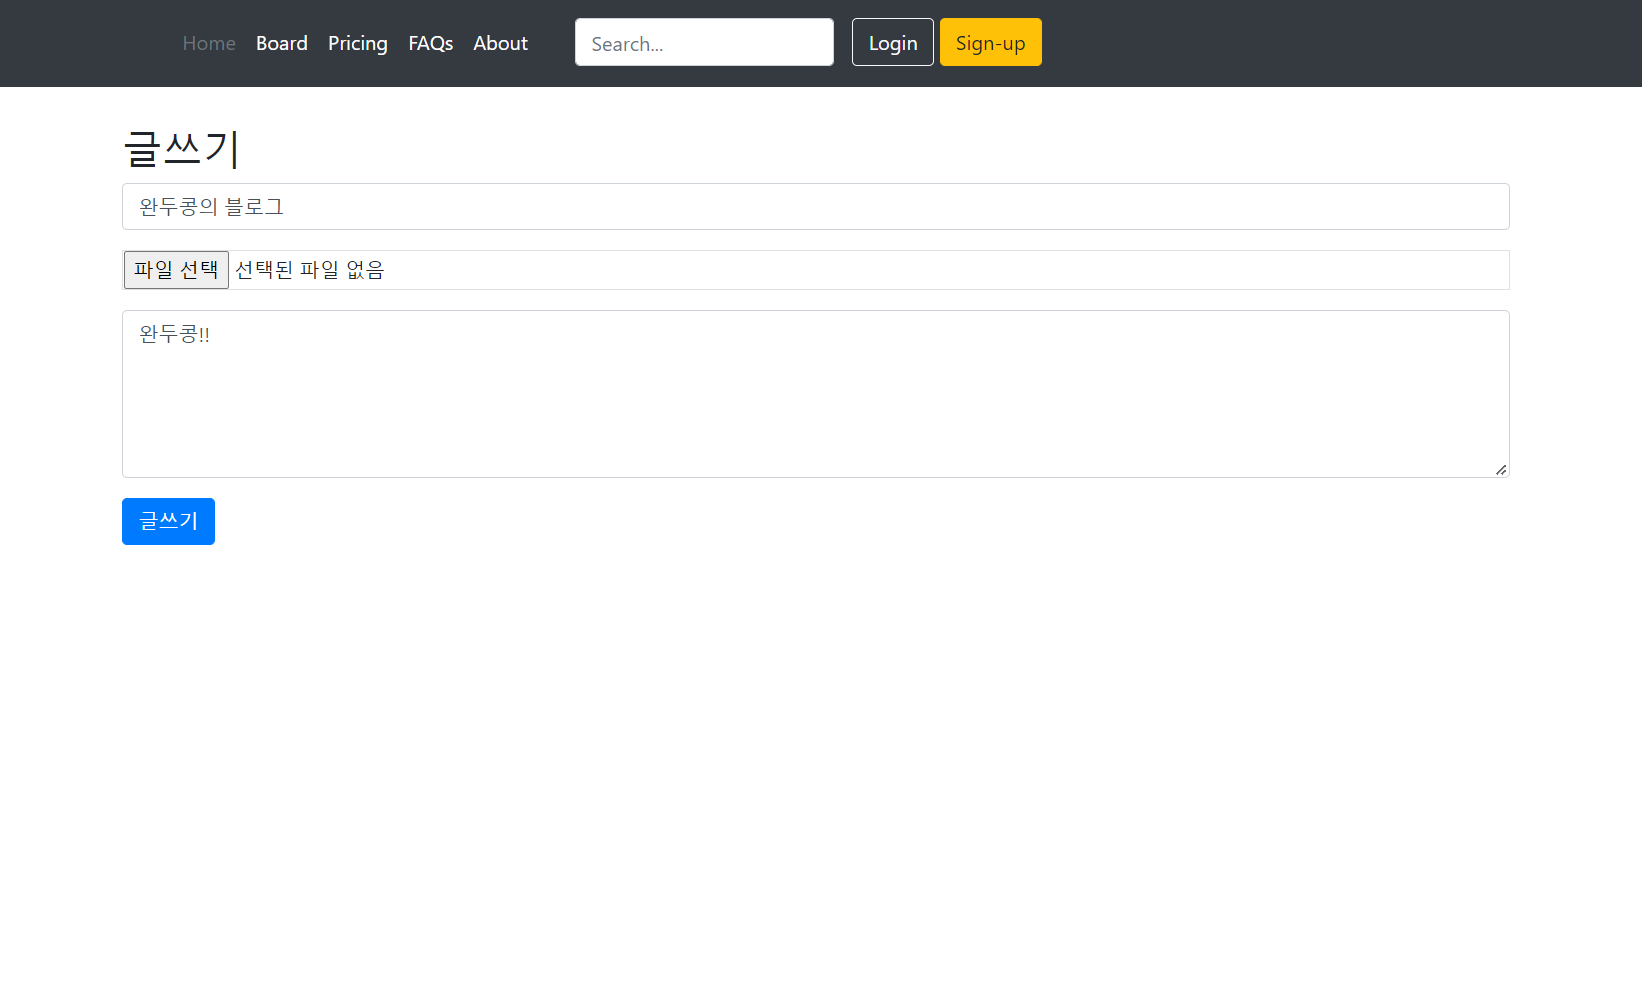
화면에서 다음과 같이 글쓰기를 클릭하면,

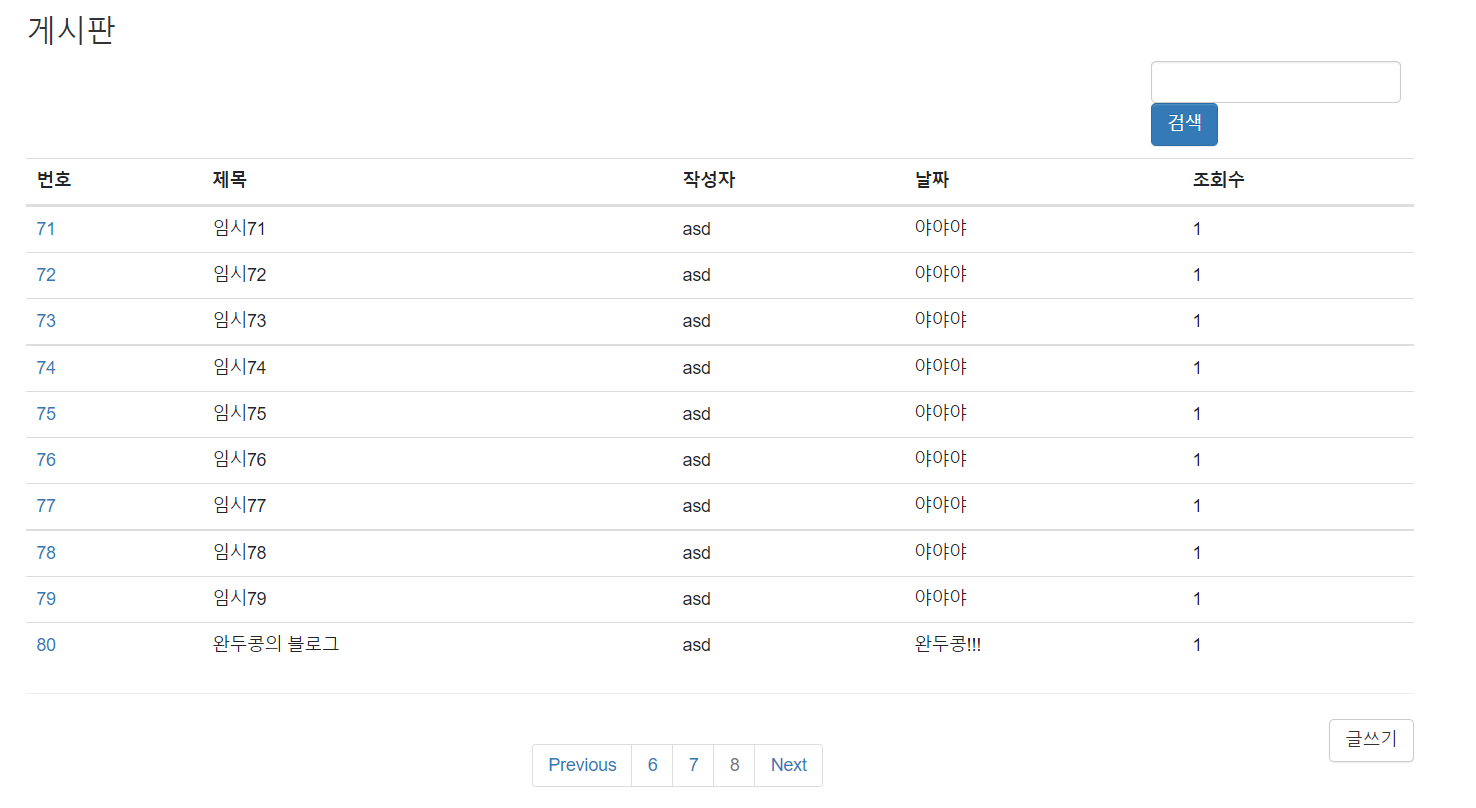
다음과 같이 80 번에 제가 방금 입력한 값이 들어감을 확인할 수 있습니다.
이 부분은 회원가입 로직과 크게 달라진 부분이 없어서 생략하고,
페이징 쪽에 좀 더 많은 설명을 하겠습니다.
페이징
JPA 를 사용하기 이전의 페이징은 더 복잡하고 계산해야 하는 부분이 많은 것을
봤었고, 이를 좀 더 편하게 구현하기 위해 JPA 의 Paging 을 사용하여 간편하게 구현했습니다.
JPA 는 기본적으로 페이징 기능이 구현돼 있습니다.
이는 따로 Repository 나 Service 에서 구현하지 않아도 사용 가능하다는 뜻입니다.

페이징을 하기 위해서는 Controller 의 매개변수에 Pageable pageable 속성을 넣고, 다음과 같이 선언하면 됩니다.
@PageableDefault 에 size 10 은 한 페이지에 몇개를 페이징 할지 정하는 값입니다.
(저는 검색 기능을 미리 구현해서 searchText 라는 인수가 들어있습니다.)


pageable 을 이용하면 페이지의 시작 값과 끝나는 값, 총 몇 개의 데이터가 있는지 등
get 을 통해 여러 값을 가져올 수 있습니다.
JPA 에서 페이징 할 때에는, 1번 페이지의 경우 JPA 에서는 index 를 0으로 잡혀있기 때문에
이 부분을 유의해야 합니다.
(추후 html 에서 설정)
페이징을 하기 위해서는 시작 페이지와 끝나는 페이지를 알아야 하기 때문에 다음과 같이
값을 설정했습니다.

startPage 의 경우, 최소값을 1로 설정하고(Math.max 기능) , .getPageable().getPageNumber() 를 통해 현재 페이지 값을 가져와서 1보다 큰 경우, 해당 값을 startPage 에 반환해줍니다.
-1 을 해준 이유는, 현재 제가 3페이지에 있다고 가정하는 경우, 실제 JPA 에서는 index = 2 라고 인식합니다.
index = 2 에서 -1 을 하면 index = 1 이 되는데 이를 이용해서 제가 5페이지로 옮겼을 시,
다음과 같이 3페이지 까지만 보이게 설정해주는 값입니다.

endPage 의 경우, 전체 페이지의 값과 제가 현재 있는 페이지 값을 계산해서
그 뒤의 페이지 번호를 보여주게 하는 기능입니다.(startPage 와 원리는 동일)
제가 5번 페이지를 선택한 경우, JPA 의 index = 4, +3 을 하면 index = 7
그러므로, 7번 페이지 인덱스까지 보여주게 됩니다.
(위 사진 참고)
시작 페이지와 끝나는 페이지의 값을 설정한 뒤 ,
model.addAttribute 를 통해 해당 값을 view 로 반환합니다.

이제 view 로 보낸 값을 Thymeleaf 를 통해 표현하는 과정입니다.
저희는 이미 Controller 에서 boards 에 값을 담아서 반환했습니다.

th:each 문을 이용해서 boards 에 담긴 값을 board 에 넣고,
해당 값을 board.title, board.createdBy 등 DB 의 값을 html 에 뿌려줍니다.
(for 문과 동일한 원리)

위 코드가 HTML 에서 페이징을 처리하기 위한 코드입니다.
중요한 부분은 112~113 번째 줄입니다.
th:each="page : ${#numbers.sequence(startPage, endPage)}">위 코드를 이용해서 startPage 값부터 endPage 값 까지 th:each 문을 돌려서 page 에 값을 넣어줍니다.

링크에 제 파일 경로와 (page=${page-1})을 사용해서 각 페이지의 url 을 설정해줍니다.
(page -1 을 하는 이유는 위에서 설명했듯, JPA 에서는 index 가 - 1 되기 때문에)
th:text 로 페이지의 값 들을 뿌려줍니다.
(th:text 에서 -1 을 안해주는 이유는 보여지는 값이기 때문에 할 필요 없습니다.
-1 을 하게되면 0 페이지부터 시작하게 됩니다!)
그 외의 111, 115 번째 줄은 boards.pageable.pageNumber 를 통해 현재 페이지 index 를 가져오고,
Previous 를 누르면 이전 페이지로 돌아가기 위해 -1, Next 는 다음 페이지이므로 +1 로
링크를 설정합니다.
여기까지 설정하면 페이징이 완료돼서 예상하던 페이지가 나오게 됩니다.
마지막으로는 검색입니다.

BoardRepository 에서 findByTitle~ 을 구현합니다.
Containing 은 JPA 문법으로 ~를 포함하고 있으면 find 해주는 기능입니다.
제목 또는 내용 둘다 포함하여 검색하기 위해 두개의 String 값을 받고

Controller 에서 String searchText 로 입력값을 받습니다.
하나의 검색 창에서 제목 또는 내용으로 검색할 예정이기에 String searchText를 하나만 선언하고
각각 매개변수에 담아서 전달합니다.
(@RequestParam 으로 defaultValue 를 "" 넣어준 이유는, 공백을 넣지 않으면 null 값이
들어가 있기 때문에 공백을 넣었습니다.)
똑같이 boards 로 model 에 값을 넣어서 전달하기 때문에 위의 코드와
달라지는 부분은 크게 없습니다.

결과는 다음과 같이 제가 원하는 값만 나옴을 확인할 수 있습니다.
사담
중간중간 작성을 했어야했는데 몰아쳐서 작성하려다보니 순서도 좀 엉망이고
보기가 힘든 것 같아서 혹시나!.. 참고하실 분들을 위해 git 링크를 올려둡니다!
https://github.com/dokongMin/boardToy.git
GitHub - dokongMin/boardToy: boardToy
boardToy. Contribute to dokongMin/boardToy development by creating an account on GitHub.
github.com
사담+
JPA 에서 배운 join fetch 를 통해 좀 더 쿼리를 줄여서 효율적으로 해보고 싶었는데
연관관계가 없어서 최적화 할만한게 딱히 없었던 것이 문제다!..
그래도 페이징을 해봤다는 걸로 만족!.. (+검색)
기본적인 게시판은 구현을 어찌어찌 했으니
앞으로는
댓글 기능도 넣어보고, Oauth 를 이용해서 소셜 로그인 연동도 해보고
테이블을 좀 더 늘리고 다양하게 실습해보기 위해 상품 판매도 해보면 좋을 것 같고..
Jenkins 를 이용해서 CI/CD 도 구축해보고
aws 에도 올려보고..
엔티티를 dto 로 변환하는 것도 다시 알아봐야하고..
관리자와 채팅?.. 도 하는 것도 구현해보고 싶고..
해보고 싶은게 많으니 마음이 든든하다..!

다음편!
https://dodokong.tistory.com/55?category=1249752
스프링 게시판 만들기 - 7 (조회수, 댓글 작성)
이전 스프링 게시판 만들기 - 6 에서 페이징 처리와 검색을 구현해보았다. 이번에는 간단하게 조회수를 올리는 기능과, 댓글 기능 을 구현해보려 한다. https://dodokong.tistory.com/54 스프링 게시판 만
dodokong.tistory.com
'ToyProject' 카테고리의 다른 글
| 스프링 게시판 만들기 - 7 (2) (동시성 feat.ThreadLocal) (0) | 2022.07.13 |
|---|---|
| 스프링 게시판 만들기 - 7 (1) (조회수, 댓글 작성) (10) | 2022.04.04 |
| 스프링 게시판 만들기 - 5 (2) ( 로그인 처리 feat.스프링 시큐리티) (0) | 2022.01.22 |
| 스프링 게시판 만들기 - 5 (1) ( 로그인 처리 feat.스프링 시큐리티) (2) | 2022.01.21 |
| 스프링 게시판 만들기 - 4 (회원 가입 & Controller 만들기) (0) | 2022.01.15 |


댓글